Prerequisites
Before you begin, make sure you have:- An Arcbeam account
- Python 3.9+
- OpenAI API key (for this example)
Step 1: Get Your API Key
Log in to Arcbeam
Navigate to platform.arcbeam.ai and sign in with your account.
Create an API key
Go to Settings → API Keys and click “Create New Key”. Give it a descriptive name like “Development Key”.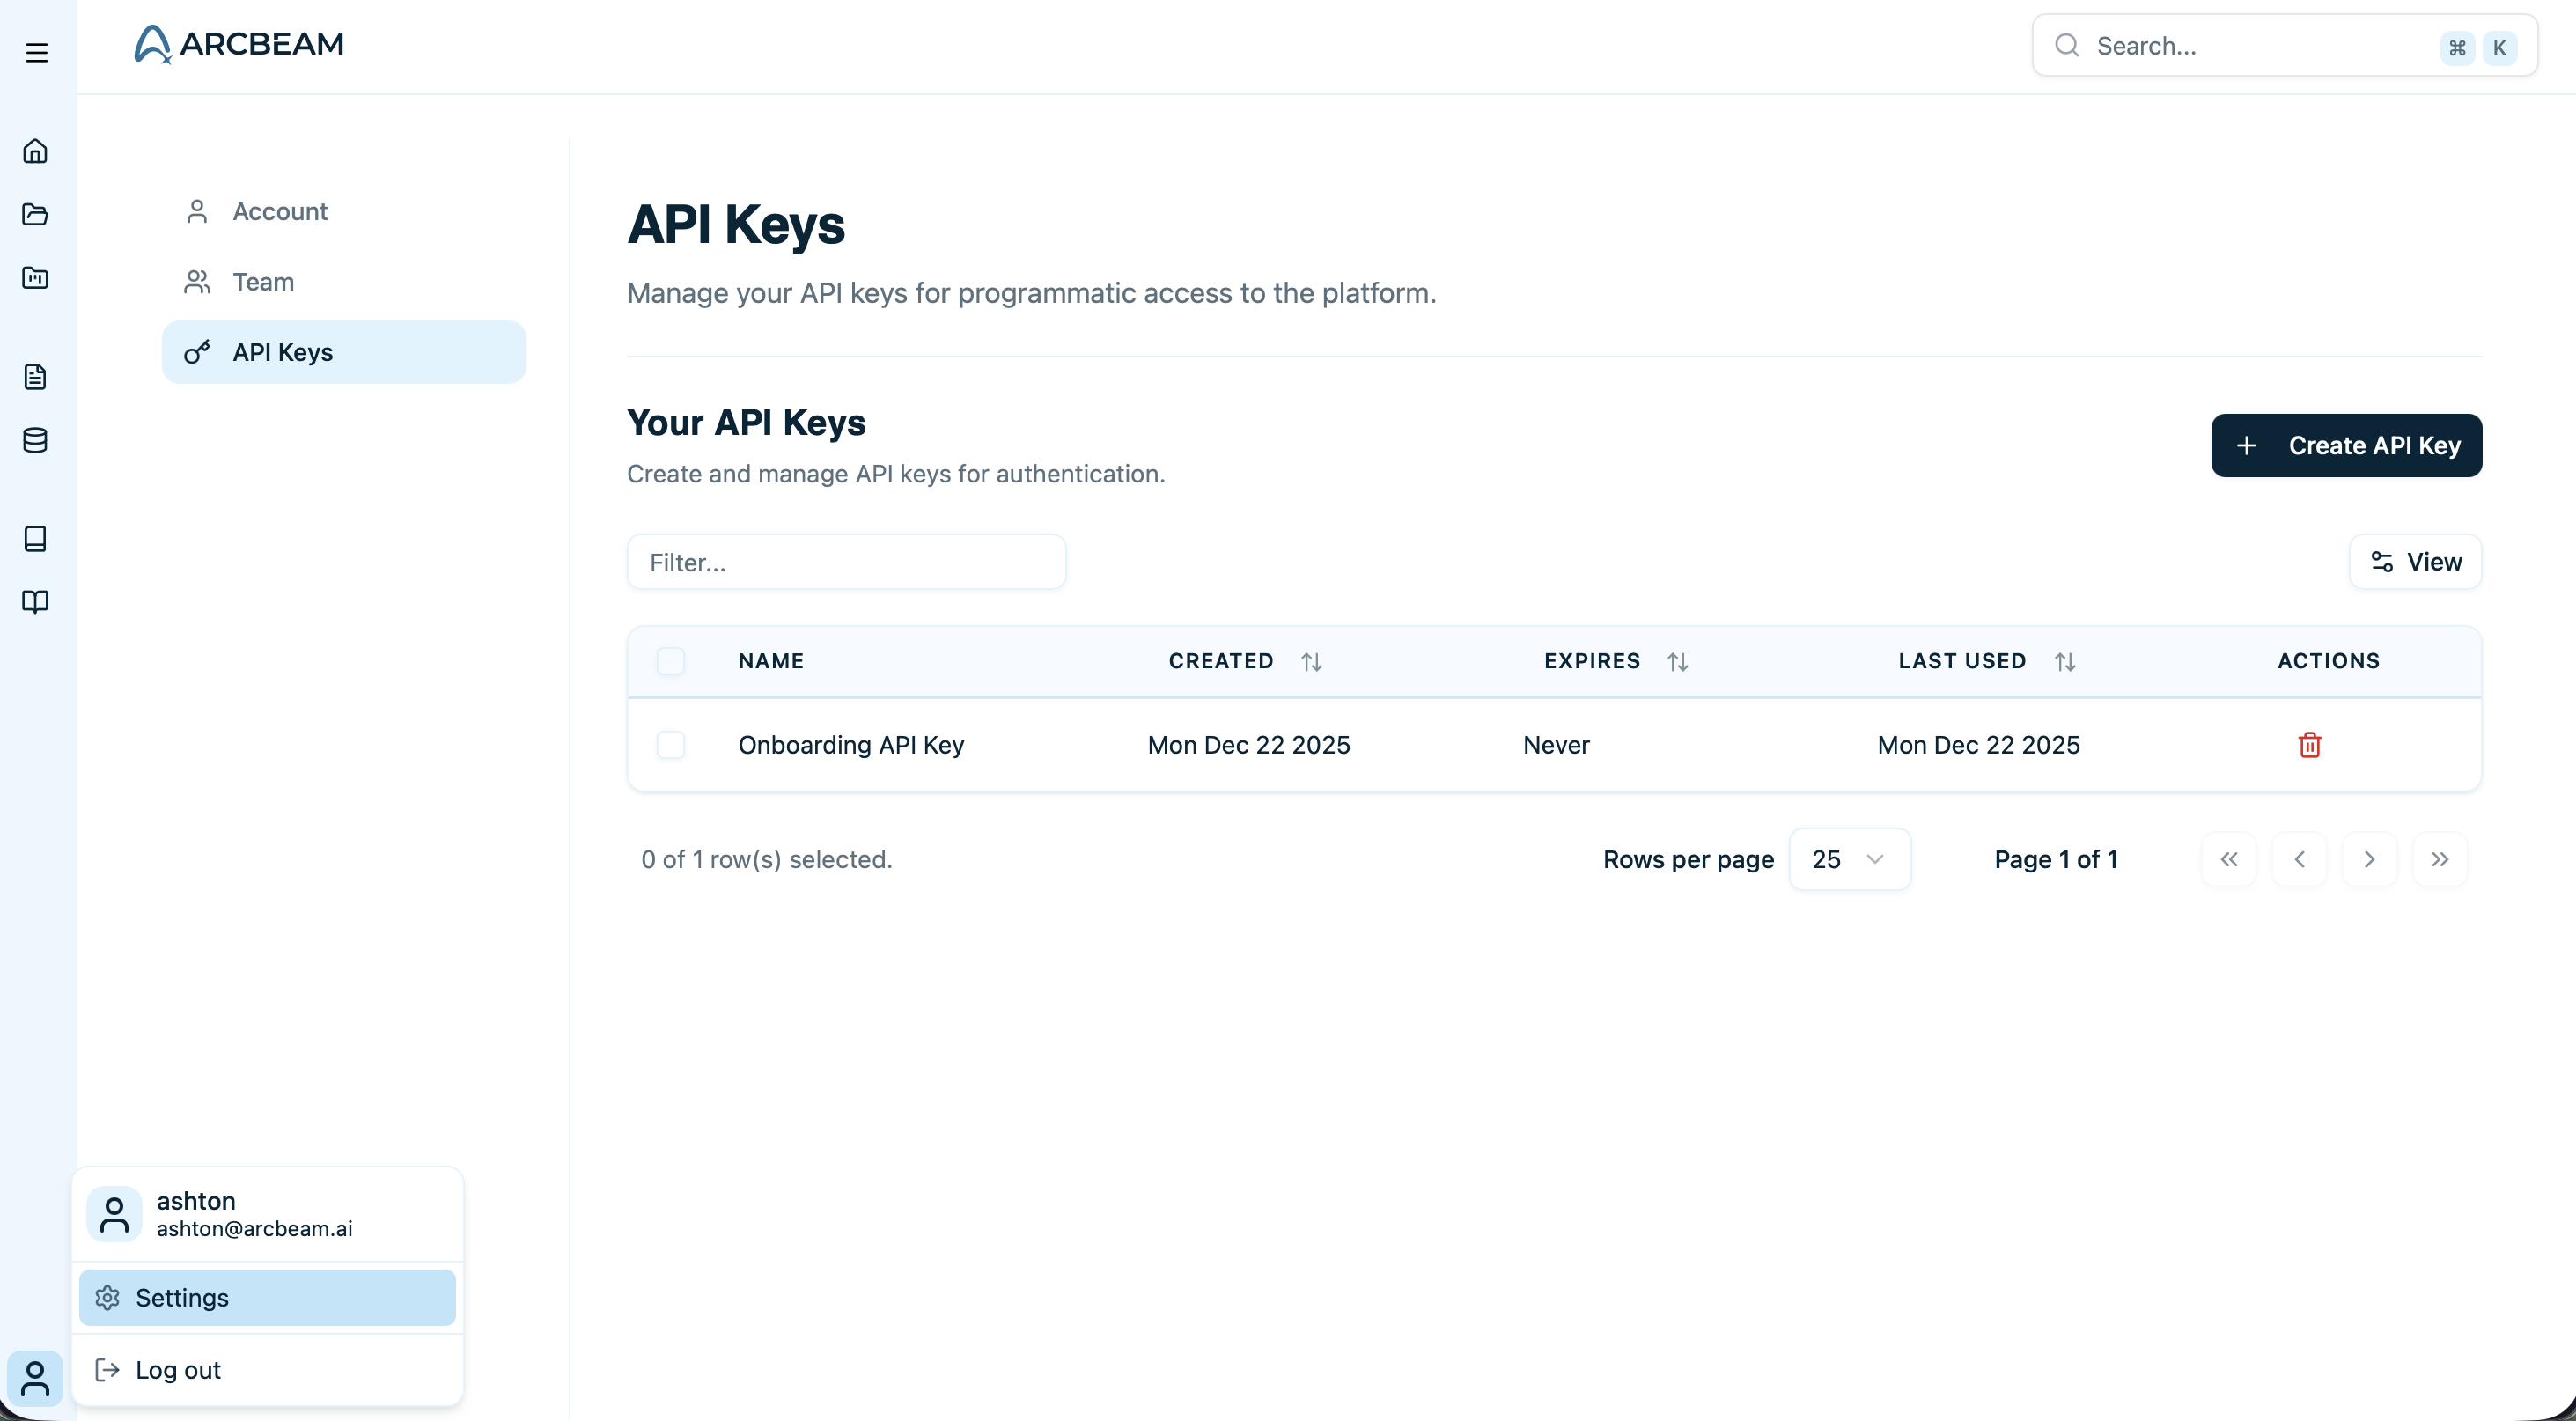
Step 2: Install the Arcbeam Connector
- Python
Step 3: Create Your First Traced Application
Create a simple LangChain agent that uses Arcbeam tracing:Make sure to set your
OPENAI_API_KEY environment variable before running this code.Step 4: Run Your Application
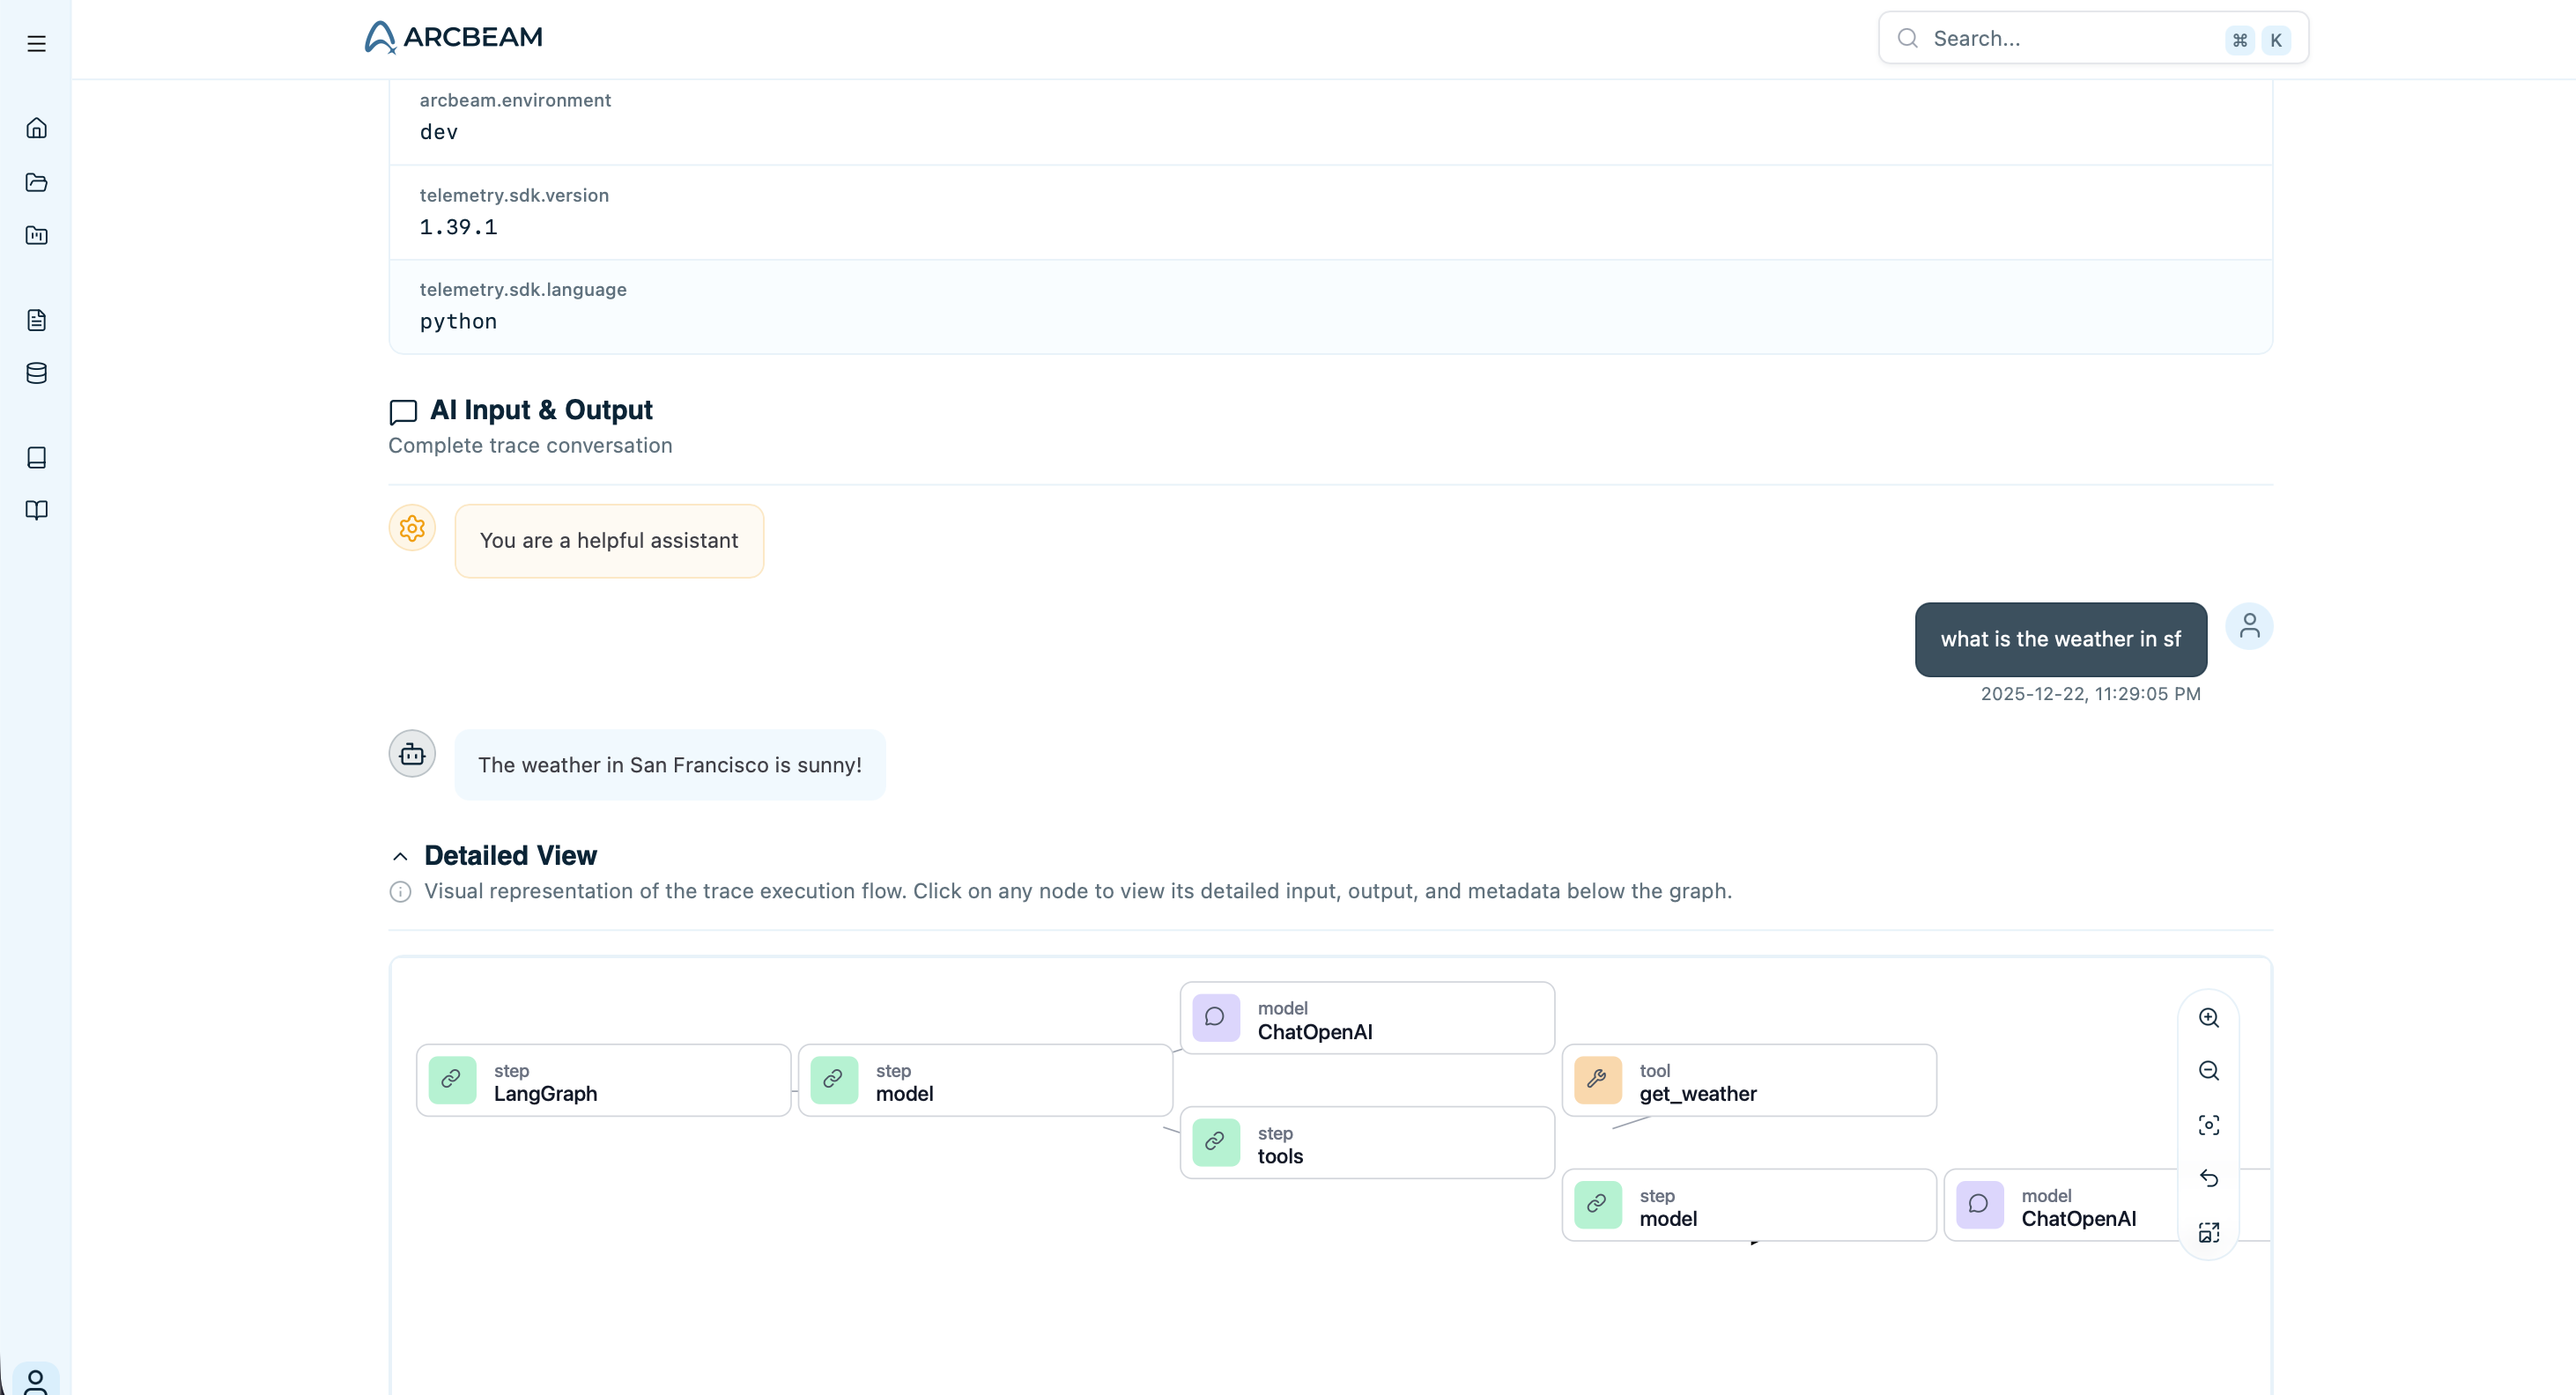
Save the code to a file and run it:You should see the agent’s response in your terminal, something like: “It’s always sunny in San Francisco!”
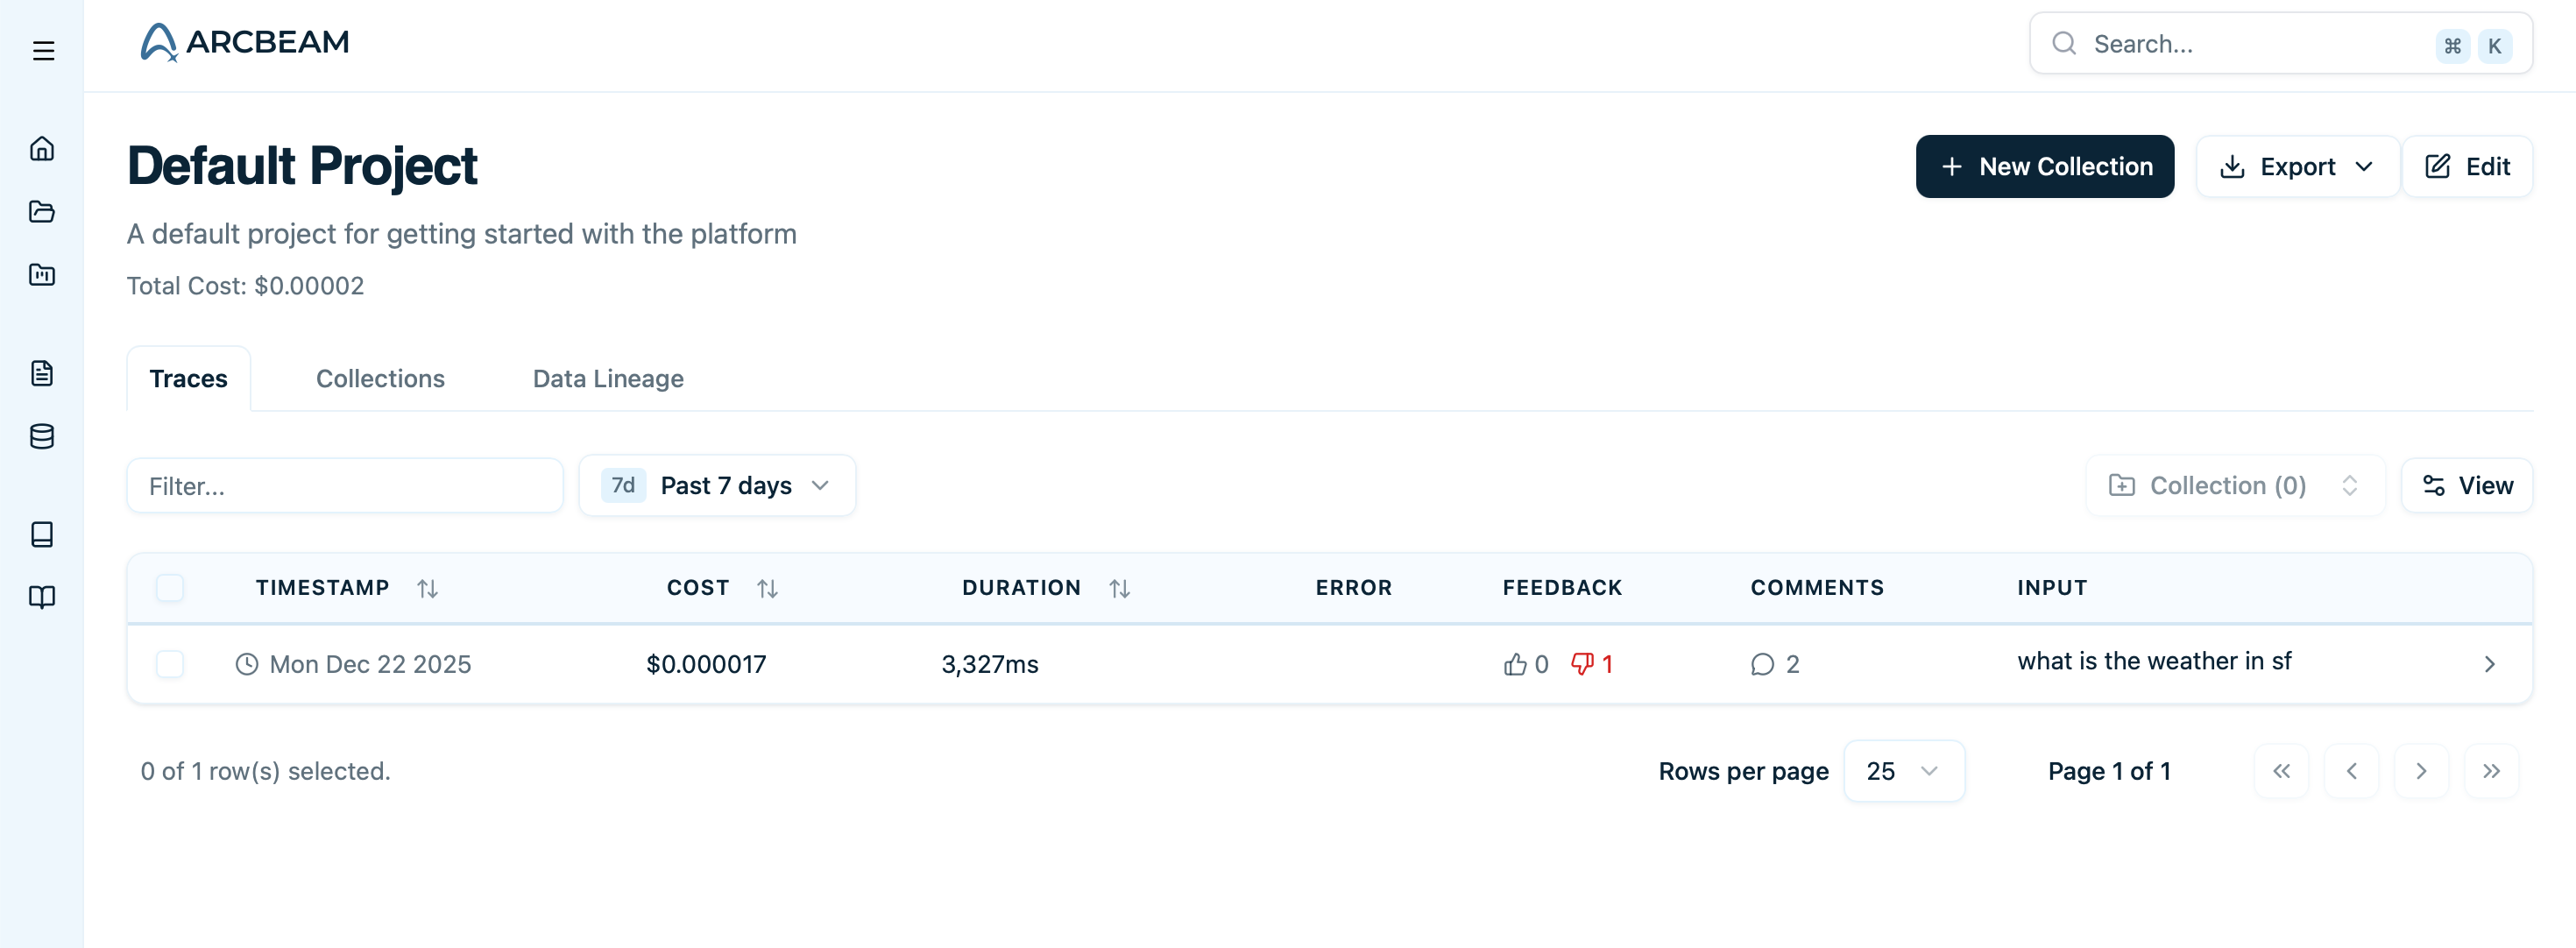
Step 5: View Your Trace in Arcbeam
What’s Next?
Congratulations! You’ve sent your first trace to Arcbeam.
Send More Traces
Learn about advanced connector features like environments and custom metadata
Connect Data Sources
Link your vector databases to see which documents are retrieved in traces
Review Traces
Learn how to filter, search, and analyze your traces
Create Collections
Organize traces for team review and collaboration
Troubleshooting
I don't see my trace in the dashboard
I don't see my trace in the dashboard
- Check that you’re using the correct API key
- Verify your application ran without errors
- Make sure you called
connector.init()before any LangChain operations - Check your network connection - traces are sent over HTTPS
I'm getting authentication errors
I'm getting authentication errors
- Verify your API key is correct and hasn’t been deleted
- Make sure you copied the full key including the
sk-prefix - Check that you’re connecting to the correct base URL
The connector isn't capturing my traces
The connector isn't capturing my traces
- Ensure
connector.init()is called before any LangChain operations - Verify you’re using a supported LangChain version (0.1.0+)
- Check the console for any error messages from the connector
For more help, see the troubleshooting guide or contact support@arcbeam.ai.